Laucke Crusty White Bread Mix is a convenient and versatile baking solution, ideal for creating delicious homemade bread with minimal effort and time.
Perfect for beginners and experienced bakers, it offers a pre-mixed blend of high-quality ingredients to produce crusty loaves, rolls, or pizza bases effortlessly.
Overview of the Product
Laucke Crusty White Bread Mix is a high-quality, pre-mixed blend designed for effortless bread making. It contains unbleached wheaten flour, non-iodised salt, malt flour, and inactive dry yeast, ensuring a delicious crusty texture. Perfect for beginners and experienced bakers, this mix simplifies the process of creating homemade bread, rolls, or pizza bases. Its convenience and consistent results make it a popular choice for those seeking authentic, freshly baked goods with minimal preparation and expertise.
Popularity and Usage in Bread Making
Laucke Crusty White Bread Mix is a favorite among home bakers and professionals alike, praised for its ease of use and versatility. Its popularity stems from its ability to consistently produce delicious, crusty bread with minimal effort. Many users appreciate its pre-measured ingredients and straightforward instructions, making it ideal for beginners. The mix is widely used for crafting rolls, pizza bases, and traditional loaves, offering a reliable solution for fresh, homemade bread without the need for advanced baking skills or extensive preparation time.

Ingredients and Tools Needed
The mix includes unbleached wheaten flour, non-iodised salt, malt flour, inactive dry yeast, ascorbic acid, enzymes, and vitamins. Additional tools like a mixing bowl, stand mixer, and measuring cups are essential.
Ingredients in Laucke Crusty White Bread Mix
The mix contains unbleached wheaten flour, non-iodised salt, malt flour, inactive dry yeast, ascorbic acid, enzymes, and vitamins. These ingredients are carefully blended to ensure optimal fermentation and dough strength, resulting in a crusty texture and fresh flavor. The mix is free from artificial additives, making it a wholesome choice for homemade bread, rolls, or pizza bases. The inclusion of inactive dry yeast simplifies the activation process, while the flour blend ensures a light, airy crumb and a golden crust.
Additional Ingredients Required
Beyond the mix, you’ll need 1–1.12 cups of tepid water, depending on the recipe size, to hydrate the dough. Adding 2 teaspoons of dried yeast is essential for fermentation, though some users prefer extra for a lighter texture. A tablespoon of olive oil enhances dough suppleness and crust flavor. Ensure all liquids are at room temperature for optimal yeast activation. These simple additions complement the mix, creating a traditional bread-making experience with minimal effort required. No extra salt is needed, as it’s already included in the mix.
Essential Tools for Preparation
A large mixing bowl, measuring cups, and a wooden spoon or dough whisk are necessary for combining ingredients. A clean, lightly floured work surface is ideal for kneading. A baking tray or bread tin, lightly oiled, is needed for shaping and rising; Optional tools include a stand mixer with a dough hook for efficient mixing and a bread maker for hands-off preparation. These tools ensure a smooth and successful bread-making process with the Laucke Crusty White Bread Mix.
Step-by-Step Preparation Process
Combine the mix, yeast, and water in a bowl, mix until dough forms, then knead for 10 minutes. Let the dough rise until doubled in size.
Activating the Yeast
Start by activating the yeast for the best results. Combine the provided yeast sachet with 112 cups of tepid water (around 38°C) in a small bowl. Stir gently and let it sit for 5-10 minutes until it becomes frothy and bubbly, indicating the yeast is active and ready to use. Once activated, pour the yeast mixture into the dry ingredients and proceed with mixing the dough. This step ensures proper fermentation for a light and airy texture.
Mixing the Dough
Combine 600g of Laucke Crusty White Bread Mix with 1-1.25 cups of tepid water (around 38°C) in a large mixing bowl. Add the activated yeast mixture and optional 1 tablespoon of olive oil for enhanced texture and flavor. Using a stand mixer with a dough hook or a wooden spoon, mix until the ingredients are fully incorporated. Continue mixing for 5-10 minutes until the dough is smooth, elastic, and slightly sticky. Avoid overmixing to ensure the best results.
Kneading the Dough
Lightly flour a clean surface and knead the dough for 10-12 minutes, until it becomes smooth and elastic. Use a stand mixer with a dough hook attachment for efficiency. Ensure the dough is not too sticky by adding a little extra flour if needed. Kneading develops the gluten, giving the bread its crusty texture. If kneading by hand, apply gentle pressure and fold the dough repeatedly. This step is crucial for achieving the desired rise and structure in the final loaf.
First Rise of the Dough
Place the dough in a lightly oiled, large bowl, turning it to coat evenly. Cover with plastic wrap or a damp cloth. Let it rise in a warm, draft-free place for 20-30 minutes, or until it doubles in size. Avoid over-proofing, as this can lead to a dense loaf. The first rise develops the yeast activity, enhancing flavor and texture. Ensure the environment is warm and stable to promote even fermentation. This step is essential for achieving the crusty texture and airy interior.
Shaping and Rising the Dough
Gently punch down the dough and shape into a loaf or rolls. Place on a baking tray, cover, and let rise in a warm spot for 15-25 minutes.
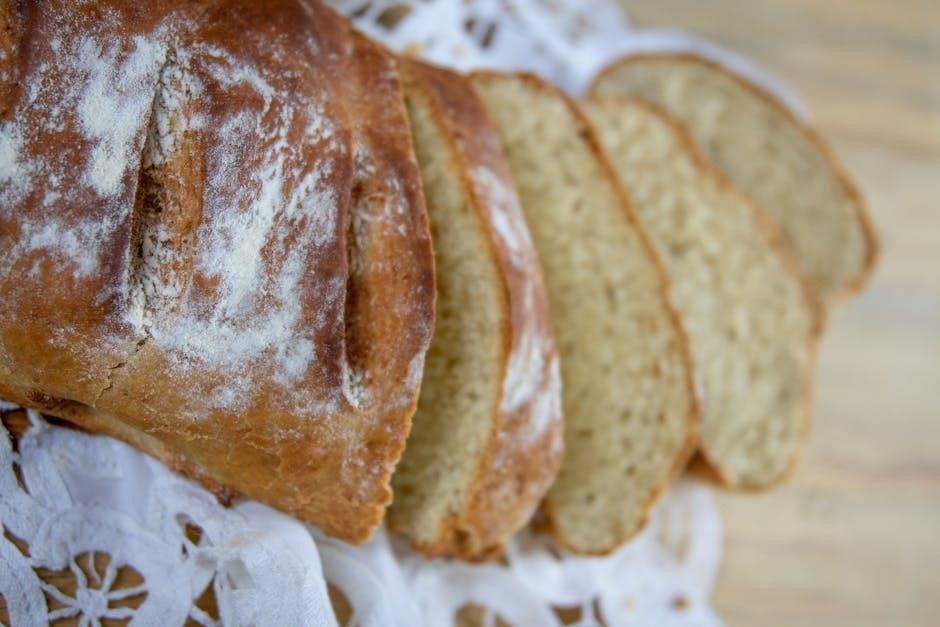
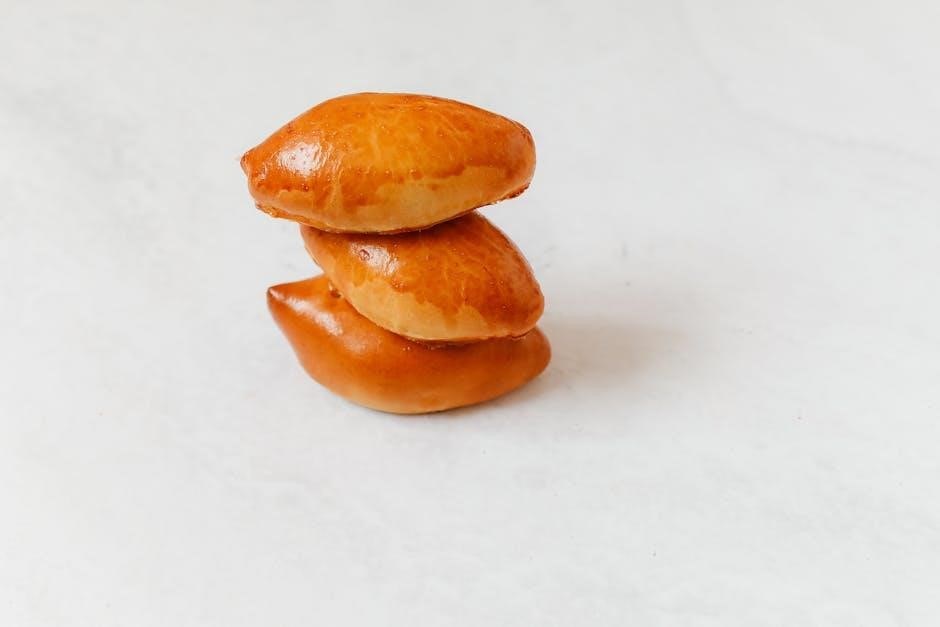
Shaping the Dough into a Loaf or Rolls
Gently punch down the risen dough to release air bubbles. For a loaf, shape into an oblong form, placing it into a greased loaf pan. For rolls, divide dough into equal portions, roll each into a ball, and flatten slightly. Place shaped dough on a lightly floured or oiled baking tray, leaving space between each piece for even rising. Ensure surfaces are smooth and even for a professional finish. Lightly dust with extra flour if needed to prevent sticking.
Second Rise of the Dough
After shaping, place the dough in a warm, draft-free area, covered with plastic wrap or a clean, damp cloth. Allow it to rise at room temperature (around 38°C) for about 30-45 minutes, or until it has doubled in size. This step is crucial for developing the bread’s texture and flavor. Ensure the area is free from drafts to promote even fermentation. Once risen, the dough is ready for baking, giving it a light, airy interior and a crusty exterior.
Baking Instructions
Preheat your oven to 210°C (410°F). Place the shaped dough on a baking tray, lightly dusted with flour. Bake for 25-35 minutes, or until golden brown. For a crusty exterior, bake with steam by placing a tray of water in the oven. Ensure even browning and a crispy crust by rotating the tray halfway through baking.
Oven Temperature and Setup
Preheat your oven to 210°C (410°F) with a baking tray inside to ensure even heat distribution. For a crispy crust, place a small tray of water at the bottom of the oven to create steam. Lightly dust the preheated tray with flour or baking paper to prevent sticking. Position the shaped dough or rolls in the center of the tray, leaving space for expansion. Ensure the oven is fully preheated before placing the dough inside for optimal rise and browning.
Baking Time and Temperature Control
Bake the bread at 210°C (410°F) for 25-35 minutes, depending on the size and shape. Use a thermometer to ensure accurate oven temperature. Place the dough on a preheated tray with steam for a crispy crust. Check for doneness by tapping the bottom; it should sound hollow. Avoid overbaking to maintain moisture. Once baked, let the bread cool on a wire rack to prevent sogginess. Adjust baking time slightly if making rolls or smaller portions.
Cooling and Storage
Cool the bread on a wire rack to prevent sogginess. Store in a cool, dry place or airtight container for up to 3 days. Freeze for longer freshness;
Cooling the Bread After Baking
After baking, remove the bread from the oven and place it on a wire rack to cool. This step is crucial to prevent sogginess and maintain crust crispiness.
Allow the bread to cool completely before storing. Proper cooling ensures moisture evaporates, preserving the bread’s texture. Avoid wrapping it while warm, as this can trap steam and soften the crust.
Storing the Bread for Freshness
To maintain the crusty texture and freshness of your bread, store it in a cool, dry place at room temperature. Avoid direct sunlight or humidity. For longer freshness, wrap the bread tightly in plastic wrap or an airtight container and refrigerate for up to 3 days. Freezing is also an option; wrap securely and store for up to 1 month. Reheat briefly in the oven to restore crispiness before serving.
Usage Ideas and Variations
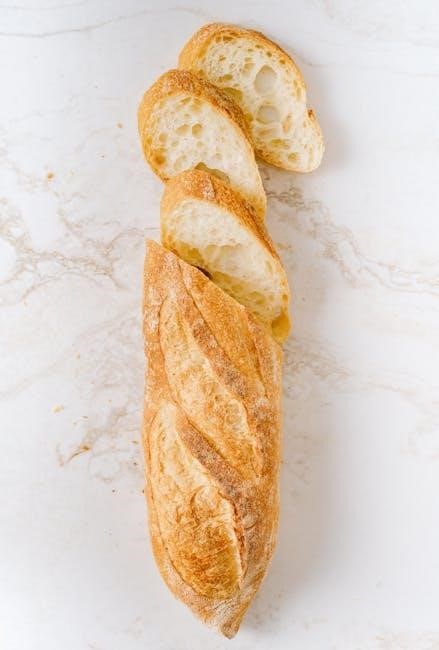
Laucke Crusty White Bread Mix is perfect for making rolls, pizza bases, and crusty loaves. It’s also great for creating baguettes, Vienna sticks, or German-style bread with ease.
Using the Mix for Rolls, Pizza Bases, and More
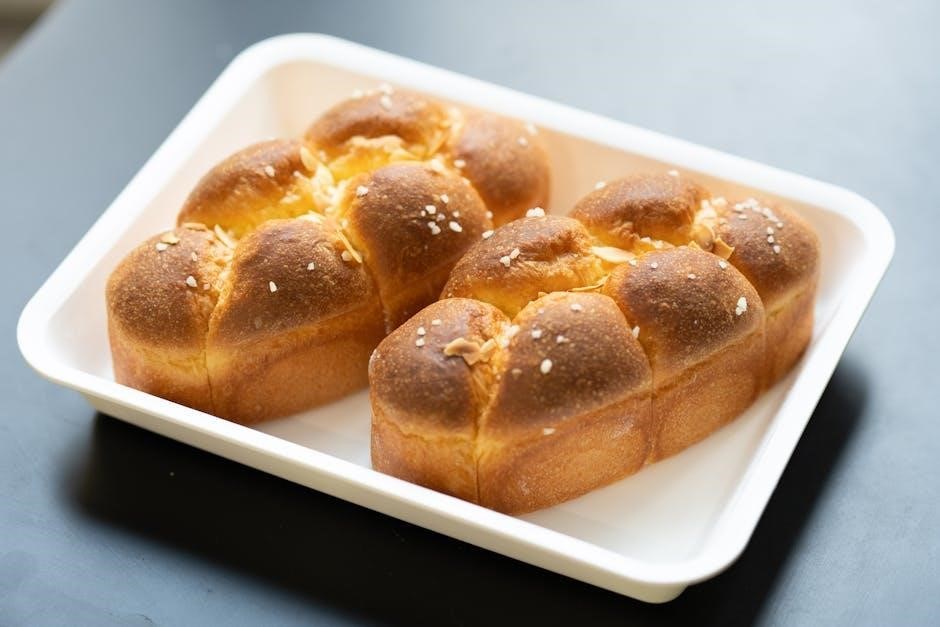
Laucke Crusty White Bread Mix is highly versatile, perfect for crafting rolls, pizza bases, and other baked goods. For rolls, simply shape the dough into desired portions and bake until golden. Pizza bases can be formed by rolling out the dough thinly and topping with your favorite ingredients. It’s also ideal for creating baguettes, Vienna sticks, or crusty breadsticks, offering endless possibilities for homemade treats. This mix makes exploring various bread recipes easy and enjoyable.
Customizing the Recipe
Enhance your creations by customizing the Laucke Crusty White Bread Mix. Add herbs, cheese, or sesame seeds for extra flavor, or mix in whole grains for a healthier twist. For a Mediterranean touch, incorporate olive oil and oregano. You can also adjust the recipe by adding a little more water or flour to achieve your desired dough consistency. Experiment with shapes, such as breadsticks or rolls, and toppings like garlic butter or poppy seeds for personalized crusty treats;
Tips and Troubleshooting
For consistent results, ensure yeast is activated properly and use the right water temperature. Substitute the mix for baker’s flour in recipes, adjusting water amounts slightly if needed.
Common Issues and Solutions
Common issues with Laucke Crusty White Bread Mix include overmixing, leading to dense bread, and incorrect water temperature affecting yeast activation. To fix, mix until just combined and use lukewarm water (not hot or cold). If dough feels too dry, add a little more water gradually. For a crispy crust, ensure the oven is preheated properly and bake at the recommended temperature. Avoid opening the oven door too early to prevent the bread from sinking.
Ensuring the Best Results
For optimal results with Laucke Crusty White Bread Mix, ensure accurate measurements and follow instructions precisely. Use lukewarm water (not hot) to activate yeast effectively. Avoid overmixing the dough, as it can lead to dense bread. Let the dough rise in a warm, draft-free environment. Preheat the oven correctly, and bake at the recommended temperature. Use a digital thermometer to maintain precise control. Gently handle the dough during shaping to retain air pockets for a light, crusty texture. Experiment with additional ingredients like herbs or cheese for unique flavors. This ensures a perfect, crusty loaf every time.
Laucke Crusty White Bread Mix offers a convenient and delicious way to create homemade bread with minimal effort. Its versatility allows for crafting crusty loaves, rolls, and pizza bases, making it ideal for both beginners and experienced bakers. By following the instructions and tips provided, you can achieve consistent, professional-quality results. This mix simplifies bread making, ensuring fresh, flavorful bread every time. Perfect for those who enjoy the satisfaction of homemade baking without the hassle of measuring multiple ingredients.